motorcycle touring holiday Germany Europe classic Ducati Bimota Superbike experience
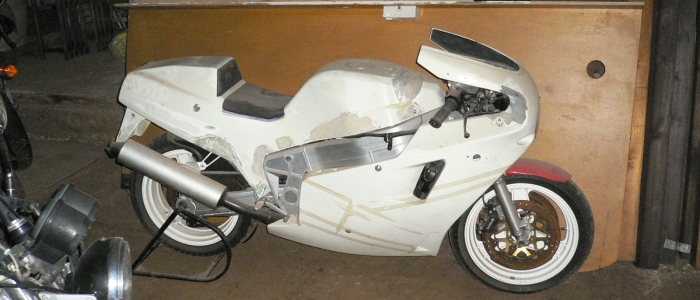
The YB4 bodywork had the usual stress cracks when we bought it, which I had already ground away. Each area was repaired with 3 layers of fibreglass matting and resin.
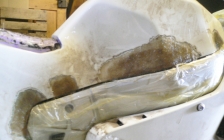
The sides of the monocoque are particularly vunerable because there is no stiffening in the super thin fibreglass skin.
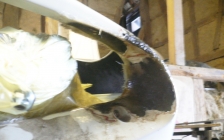
Also in the complicated curves around the handlebars, where a lot of flexing occurs during removal and assembly.
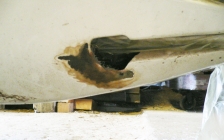
The area around the side stand is also vulnerable if you do not take care when flipping out the stand with your toe. At least there is a little bit of extra thickness here.
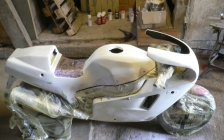
Next was to fill the repaired areas with filler paste,
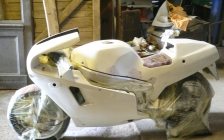
and sand it smooth. As this was a practice paint job, there was no need to fill and smooth the surfaces perfectly, that will be done for the final version. Therefore on with the paint.
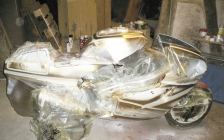
It is easier and quicker to mask small areas, so better to apply the colours first that will be easiest to mask. Here the gold for the stripes is already on and masked ready for the next colour coat.
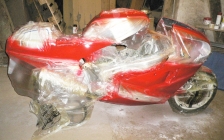
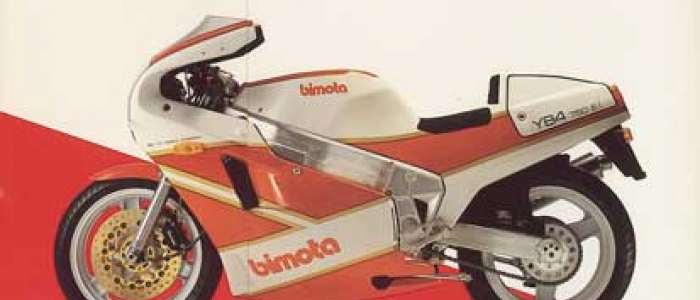
Red next, and it's already starting to look more like a Bimota YB4.
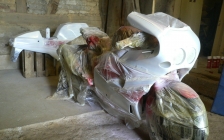
Next, the red areas are masked too and several coats of white applied to the remaining bodywork.
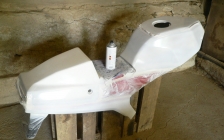
For this it was neccessary to separate the monocoque and stand it separately in order to get to all the edges.
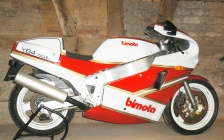
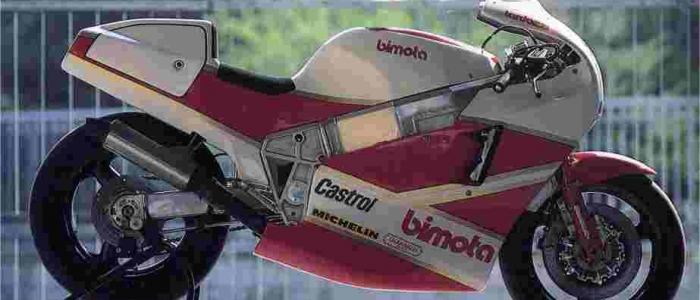
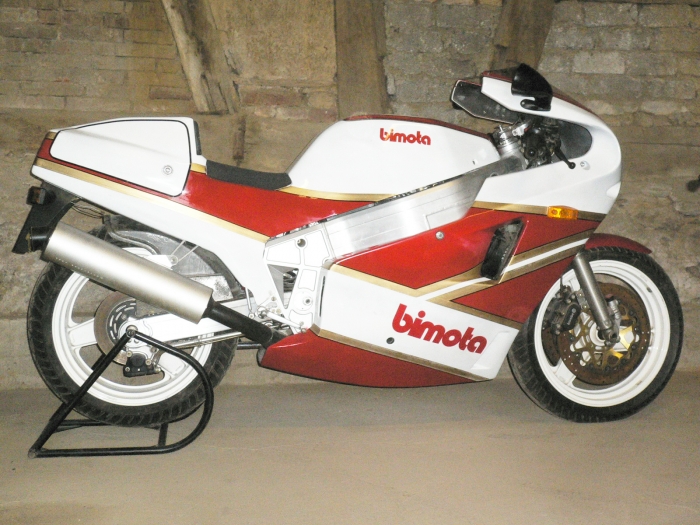
After all the paint has dried, the monocoque can be fitted back on and the black pinstripes between the gold and red areas applied. Also the boundary lines for the race number plates. And finally the indicators, mirrors, seat, lights and Bimota logos.
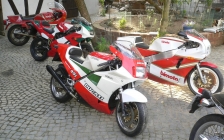
How does it look outside.

 The YB4 bodywork had the usual stress cracks when we bought it, which I had already ground away. Each area was repaired with 3 layers of fibreglass matting and resin.
  For this it was neccessary to separate the monocoque and stand it separately in order to get to all the edges.
 English
 Deutsch
 日本語
日本語